Multi-room Audio With Snapcast

After initially building a multi-room audio setup around Google Home / Chromecast and getting royally burnt when Google decided the Chromecast Audio was being discontinued I decided next time around I wanted more control. I looked at several solutions in the market but all appeared to involve purchasing smart speakers or soundbars from a portfolio of supported products or expensive streaming components if you want to integrate an existing Hi-Fi or active speakers. One of the market leaders in this space is of course Sonos and like Chromecast there are a great number of products available which can be integrated into these ecosystems but I didn’t want Sonos or Chromecast support to dictate my purchasing choices in the future so I started to look at open-source alternatives…
Warning: Snapcast means Linux, at least for the server part anyway. If that is enough to scare you then read no further.
What is Snapcast?
Snapcast is a multi-room client-server audio solution, where all clients are time synchronized with the server to play perfectly synced audio. It’s important to note that Snapcast isn’t a music player like Roon or Volumio. It is simply a solution for transmitting audio to various clients in a time synchronized manner. With that in mind Snapcast needs one or more audio sources to provide it with audio to stream such as software music players or physical audio devices like CD players and turntables connected through an audio capture device. Once you have a Snapcast server instance up and running and your sources configured you can begin adding clients and choosing which synchronized source they will play.

In this series of blog posts I will cover how you can use Snapcast to create a comprehensive multi-room audio solution capable of high quality audio playback from a variety of sources. In my own setup I use a mix of software sources such as Music Player Daemon for playing my local digital music collection, TCP based network streams and physical audio inputs captured through ALSA for things like the USB output on my turntable.
Setting Up A Snapcast Server
The Snapcast server currently only supports Linux and ideally needs to be running 24/7 or at least whenever you wish to play audio on any of your clients. If you already have a Linux based NAS, home server or simply a spare Raspberry Pi or similar you will be good to go. I prefer to use Docker where possible and maintain an image on Docker Hub for both the Snapcast server and Linux client.
I won’t go into details here about installing Snapcast. Follow the official installation guide for native installer packages or my Docker image guide if like me you prefer the containerised option.
Once you have a server instance up and running you can start adding your audio sources and clients to render the audio wherever you wish.
Audio Sources
Snapcast can be used with a wide range of music players and other audio sources. I will cover the audio sources I currently use with Snapcast and how to set these up in future blog posts but below is an overview of the Snapcast audio sources I currently have configured:
-
Music Player Daemon: I use MPD to play my local music collection. I run MPD on the same device as Snapcast and use a Linux pipe to send audio from MPD to Snapcast for multi-room playback.
-
AirPlay: Shairport Sync is an AirPlay or AirPlay 2 audio player for Linux. Once linked to Snapcast using the pipe backend you can cast music from any app or device which supports AirPlay and Snapcast will handle distributing the audio to all of your clients/speakers.
-
Spotify: librespot is a cross-platform Spotify client library which will enable you to host your own Spotify Connect endpoint. This can once again be connected to Snapcast for multi-room Spotify playback.
-
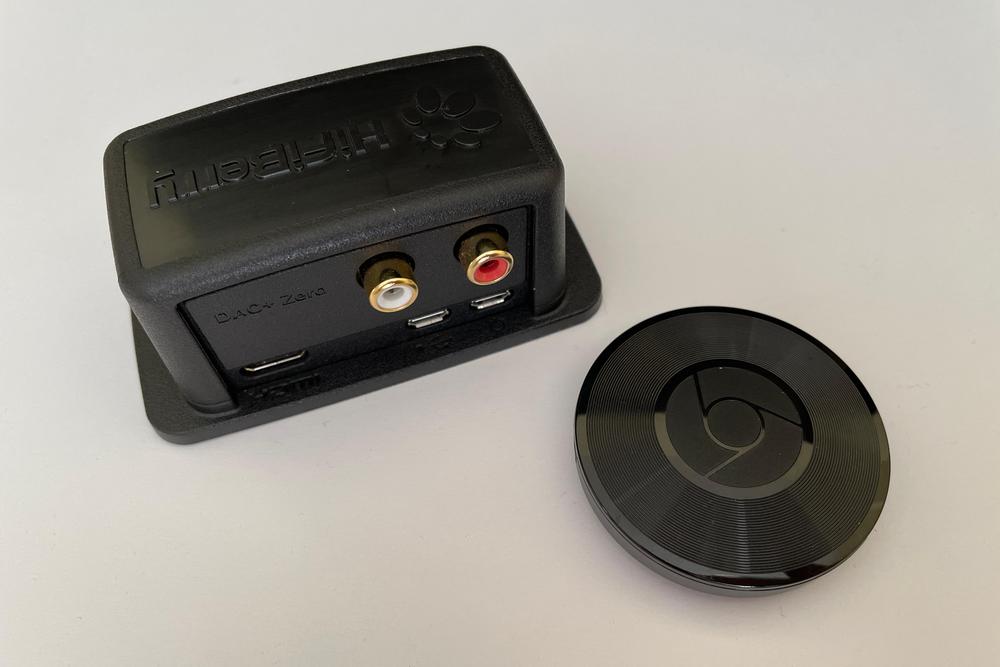
Google Cast: I had come from a Chromecast multi-room setup so the ability to cast audio from apps on my phone and play it back anywhere in the house was important as well as being able to start music playback with Google Assistant. For this I use a Chromecast Audio captured via optical and sent to Snapcast which isn’t as seamless as the Google Home experience but it works well.
-
Turntable: If you have a turntable with a preamp that has a USB output this can easily be captured with Snapcast to get those records playing all around your home. If like me your turntable or any audio source for that matter isn’t located near to your Snapcast server you can use Snapcast’s TCP source capability to help you out. I will cover this in a future blog post.
So currently I have a multi-room audio setup which supports playing music from my local collection, AirPlay, Chromecast, Spotify and my turntable… pretty neat!
Audio Clients
A multi-room audio setup is of course pointless without some clients or endpoints to render the music. This is where Snapcast is very versatile compared to other multi-room audio solutions I have come across. Below are just some of the options available:
-
Web App: The Snapcast server ships with it’s very own web app which can be accessed over the network from any device with a web browser. Not only does the simple web app enable you to control the volume and source of each of your clients it can also turn your device into a client. Simply click the ‘Play’ icon in the top bar and any device with a web browser can render any of your audio sources, fully syncronized of course.
-
Smartphone / PC: If you have an Android phone you can download the Snapdroid app which, similar to the web app, enables you to control all of your clients and also turn your smartphone into a client which can be surprisingly handy. There is also Snap.Net which is another client app supporting iOS, Windows and Android.
-
Snapcast Client: I personally use several Raspberry Pi or similar single-board computers with HiFiBerry DAC HATs which work very well running the Snapcast client. In reality any Windows or Linux computer will work in conjunction with built-in audio outputs or an external DAC. The Snapcast client runs as a background service on Linux by default or it can be run in a Docker container. On Windows I recommend using Snap.Net which makes it easier to configure the client and make it run on startup amongst other things.
The most compact client device I have used which is still reasonable in terms of audio quality is the HiFiBerry Dac+ Zero with a Raspberry Pi Zero. I use a couple of these with some portable speakers which previously had Chromecast Audio devices attached and they have been very reliable.

Control
Once you have your Snapcast server setup with all of your audio sources and some clients connected you will need a way to control what gets played where. There are several ways you can do this some of which I have already mentioned above.
-
Web App: The web interface included with the Snapcast server offers full control of your clients, groups and sources for any device that has a web browser.
-
Smartphone / PC: There is an official app for Android which also has full support for controlling volume and source of each client or group. There is also Snap.Net for iOS and Windows with the Windows version offering convenient client control from the taskbar.
-
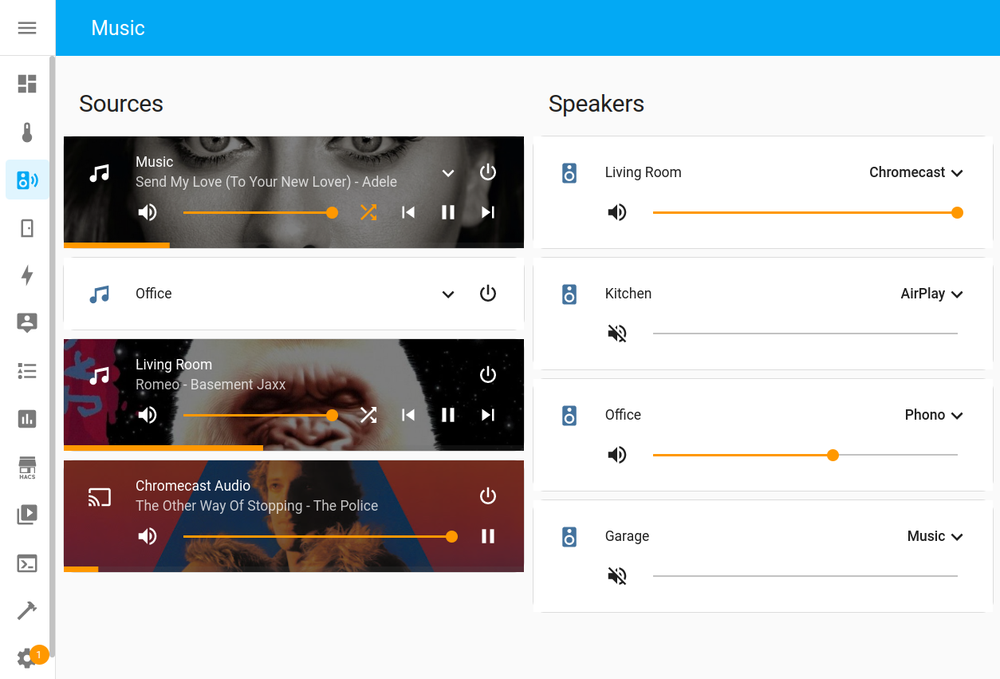
Home Assistant: For those like me who use Home Assistant to control your smart home there is an official integration for Snapcast which will enable you to control your clients from your Home Assistant dashboard, automations, voice assistants etc etc… As Home Assistant also has integrations for Music Player Daemon, Google Cast and many other devices or players you may wish to incorporate into your audio setup this can be a convenient way of controlling everything in one place.

Conclusion
If like me you are tired of being locked into proprietary ecosystems and are willing to go a bit DIY for your multi-room audio to gain additional flexibility and freedom I highly recommend giving Snapcast a go. I’ve been using it for over a year and it’s been close to flawless with a mix of wired and wireless clients. You will require a centralised Linux based computer to host the server which is one downside compared to Chromecast and other de-centralised solutions and your wired or wireless network will need to be moderately stable to avoid any drop-outs but for the versatility and freedom it offers the effort is more than repaid.
Pros
- Open source and free from proprietary ecosystems, apps and services
- Very versatile enabling synchronized multi-room playback of virtually any source with a bit of effort
- Allows a diverse range of clients to be integrated into your multi-room audio setup from phones to Hi-Fi
Cons
- Not an off-the-shelf, all-in-one solution
- Requires some general software and Linux knowledge
- No dynamic sample rate support often meaning resampling is required
- Can’t easily integrate hardware from other proprietary ecosystems (e.g. Sonos, Google, HEOS)